
Add your logo & description
Make sure customers recognise your shop and understand what you offer.
Have your logo file and a short, accurate introduction ready.
See where to go
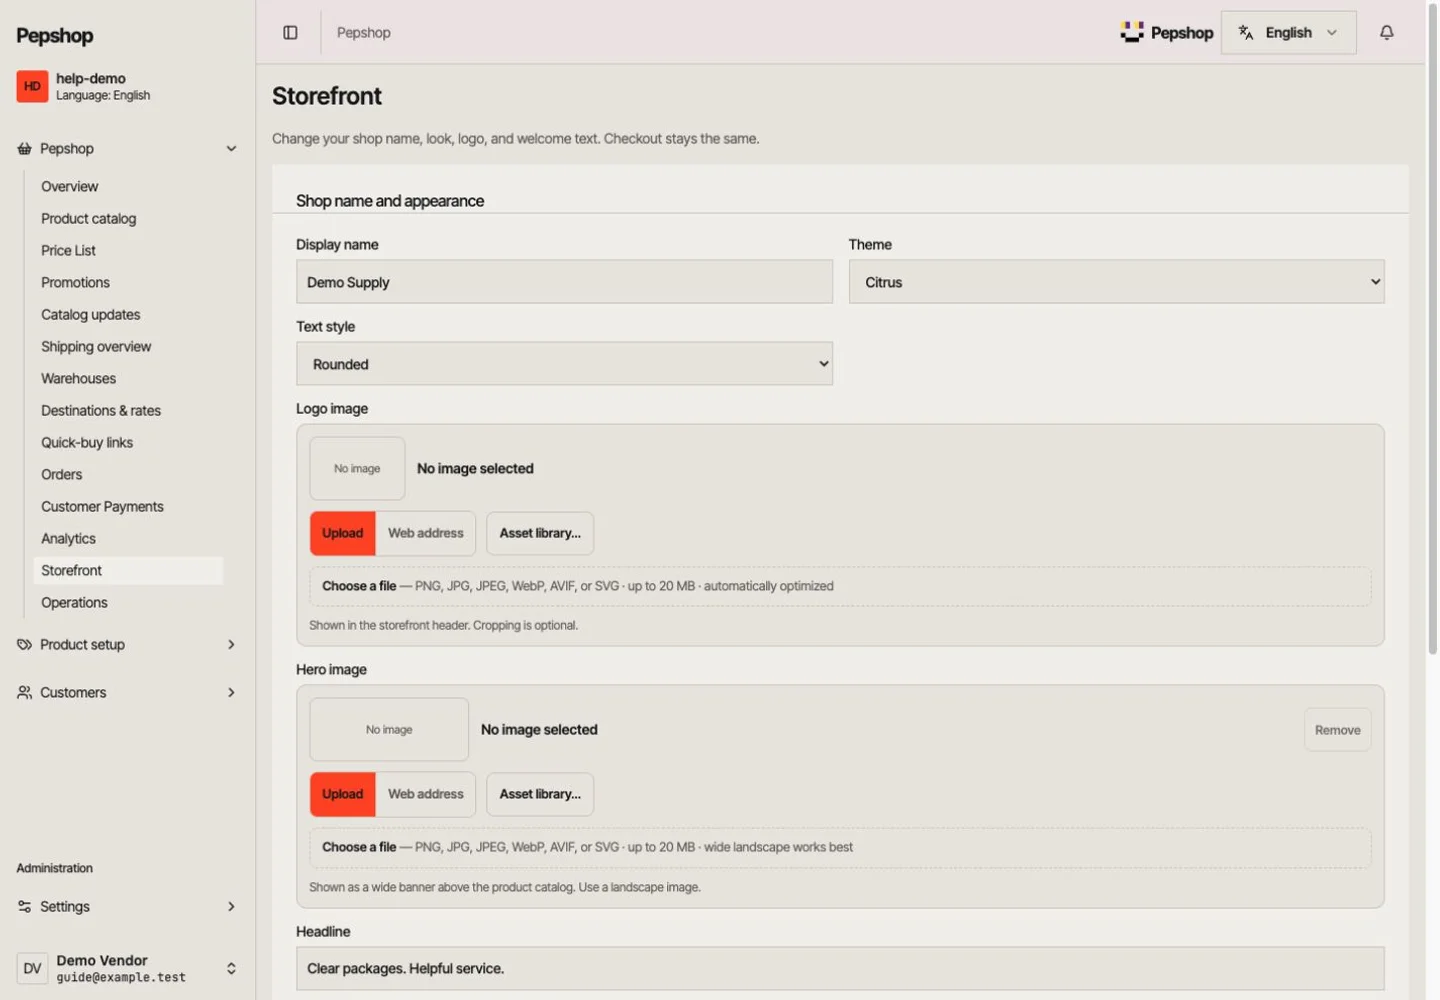
In the vendor portal, select Storefront. Confirm you are editing the correct shop.
Download GIF walkthroughs
Download this walkthrough in English, with a pointer showing each step.
Full-screen GIF ↓Focused GIF ↓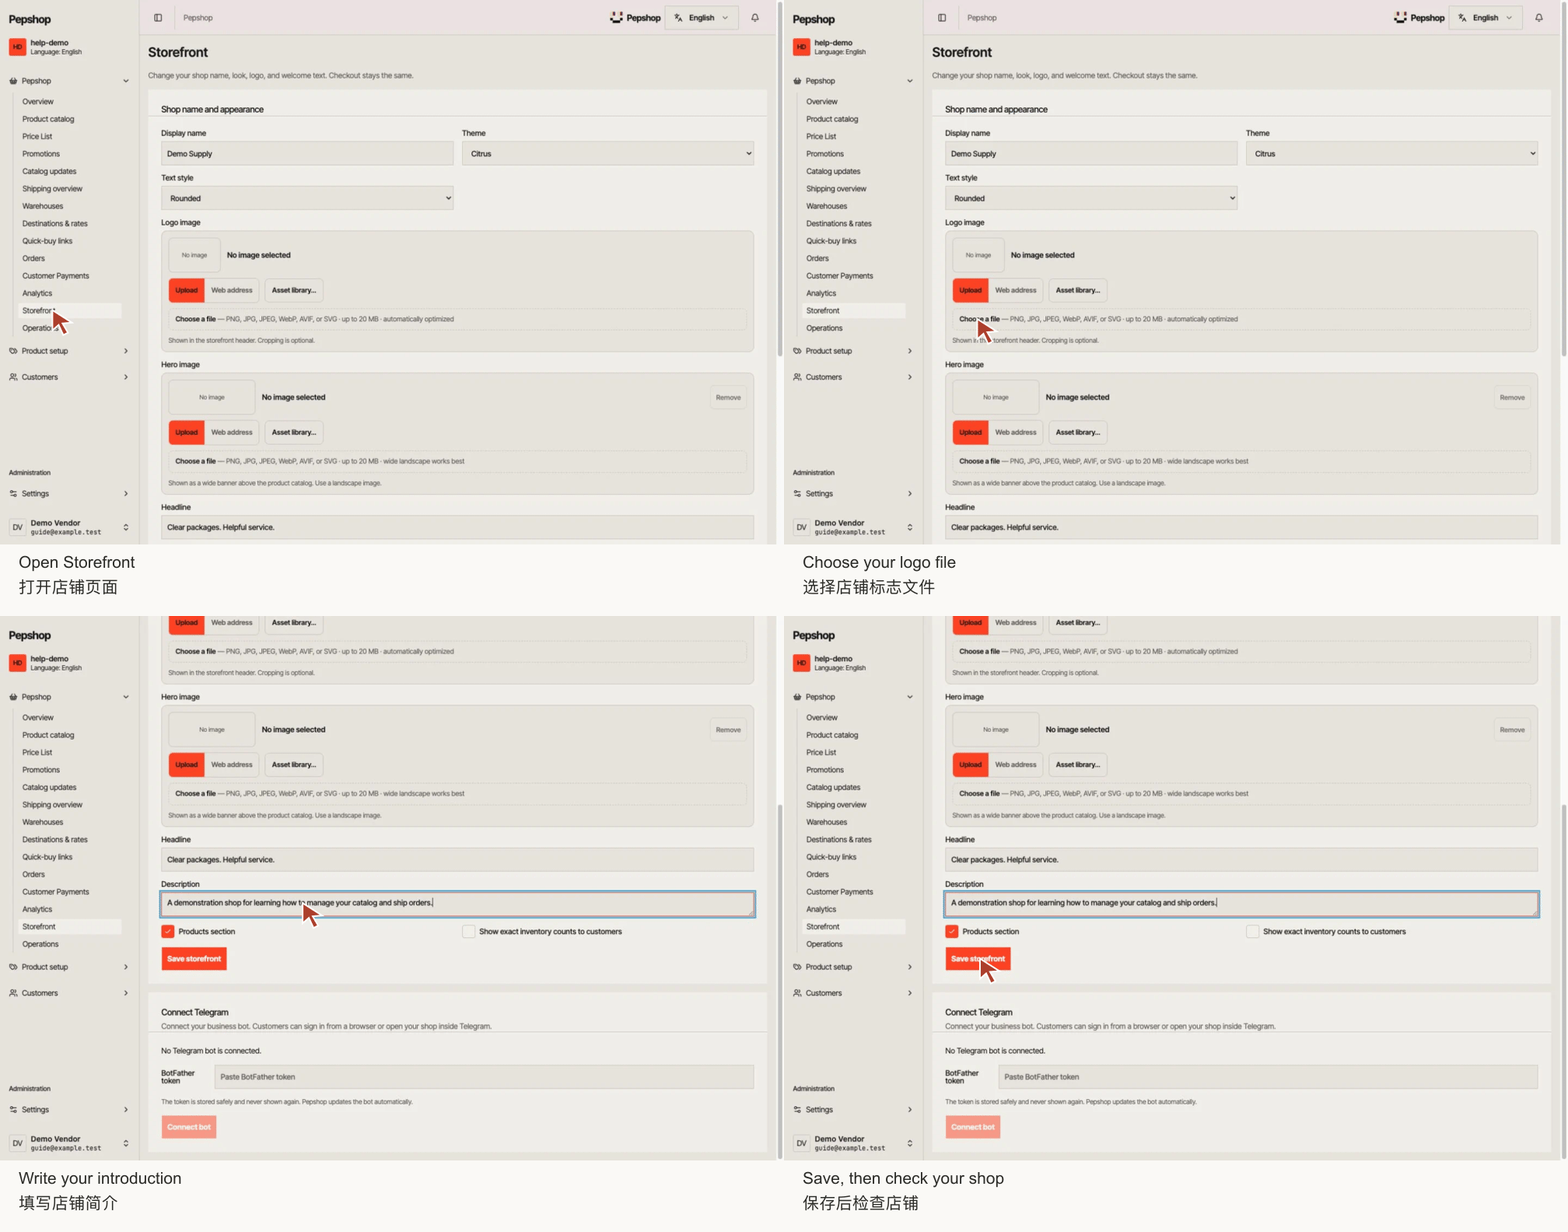
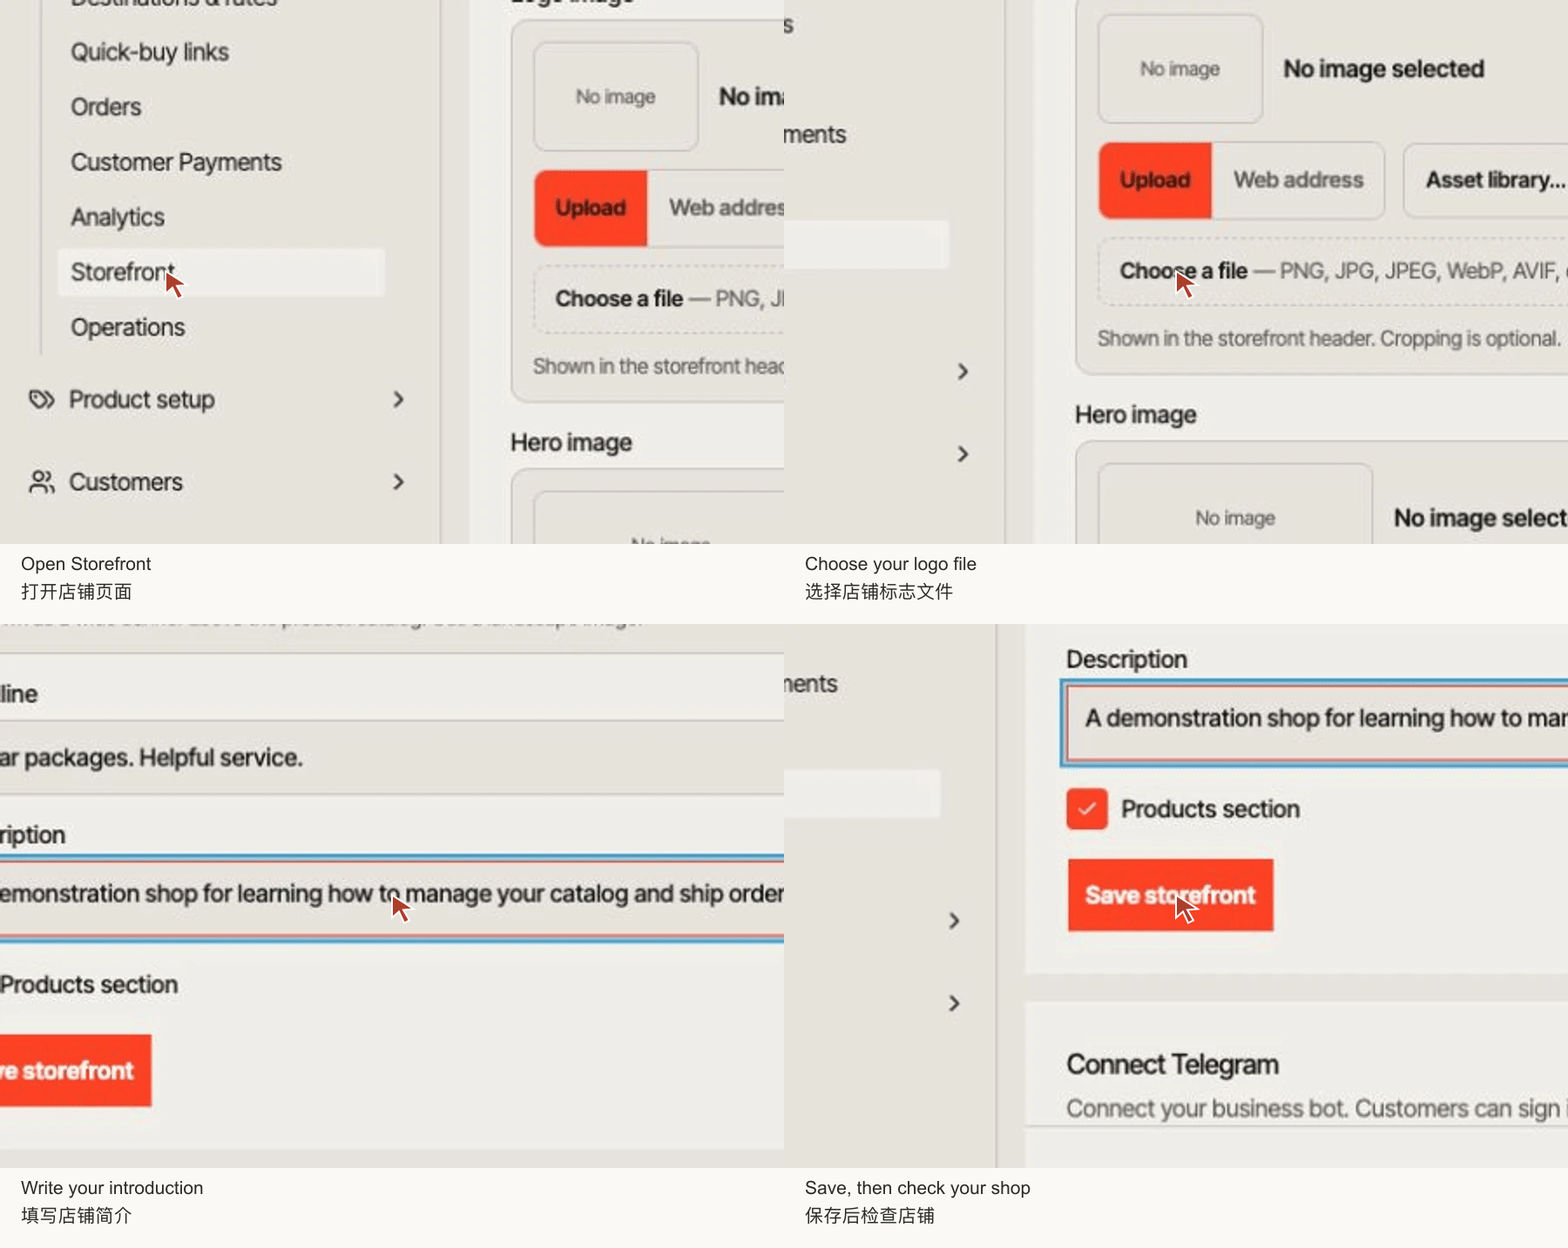
Open Storefront
In the vendor portal, select Storefront. Confirm you are editing the correct shop.
Upload or choose a logo
Use the logo upload control or choose an existing asset. PNG, JPG, WebP, AVIF and SVG are supported; raster images can be cropped and optimised.
Write the shop introduction
Review Display name, Headline and Description. Describe your catalog and service clearly. Keep shipping promises consistent with your actual delivery settings.
Save and check your shop
Select Save storefront. Open the public shop and check the logo is readable and the introduction is correct on a phone as well as a computer.
What you should see
Customers see the saved shop name, logo and introduction.
If something is not right
The logo looks cropped
Use a version with space around the mark, or adjust the crop. Check small text at the size customers actually see.
An upload fails
Choose a supported image file and try again. If it still fails, send support the file type and error text, without account credentials.